The Power of Cropping
When it comes to editing, many photographers talk about tone curves, brushes, and filters in Lightroom— but have you heard about the “crop overlay?” Cropping might not be mentioned often, but it is a very powerful tool for directing our eyes to an image’s focal point. Knowing what to crop and how to crop accordingly are valuable for creating more intentional images and telling a better story. Another advantage of cropping is the ability to “create” many different frames from the same exact shot. So, without further ado, I will be showing two examples of what that means in today’s post!
Example 1
Full Image
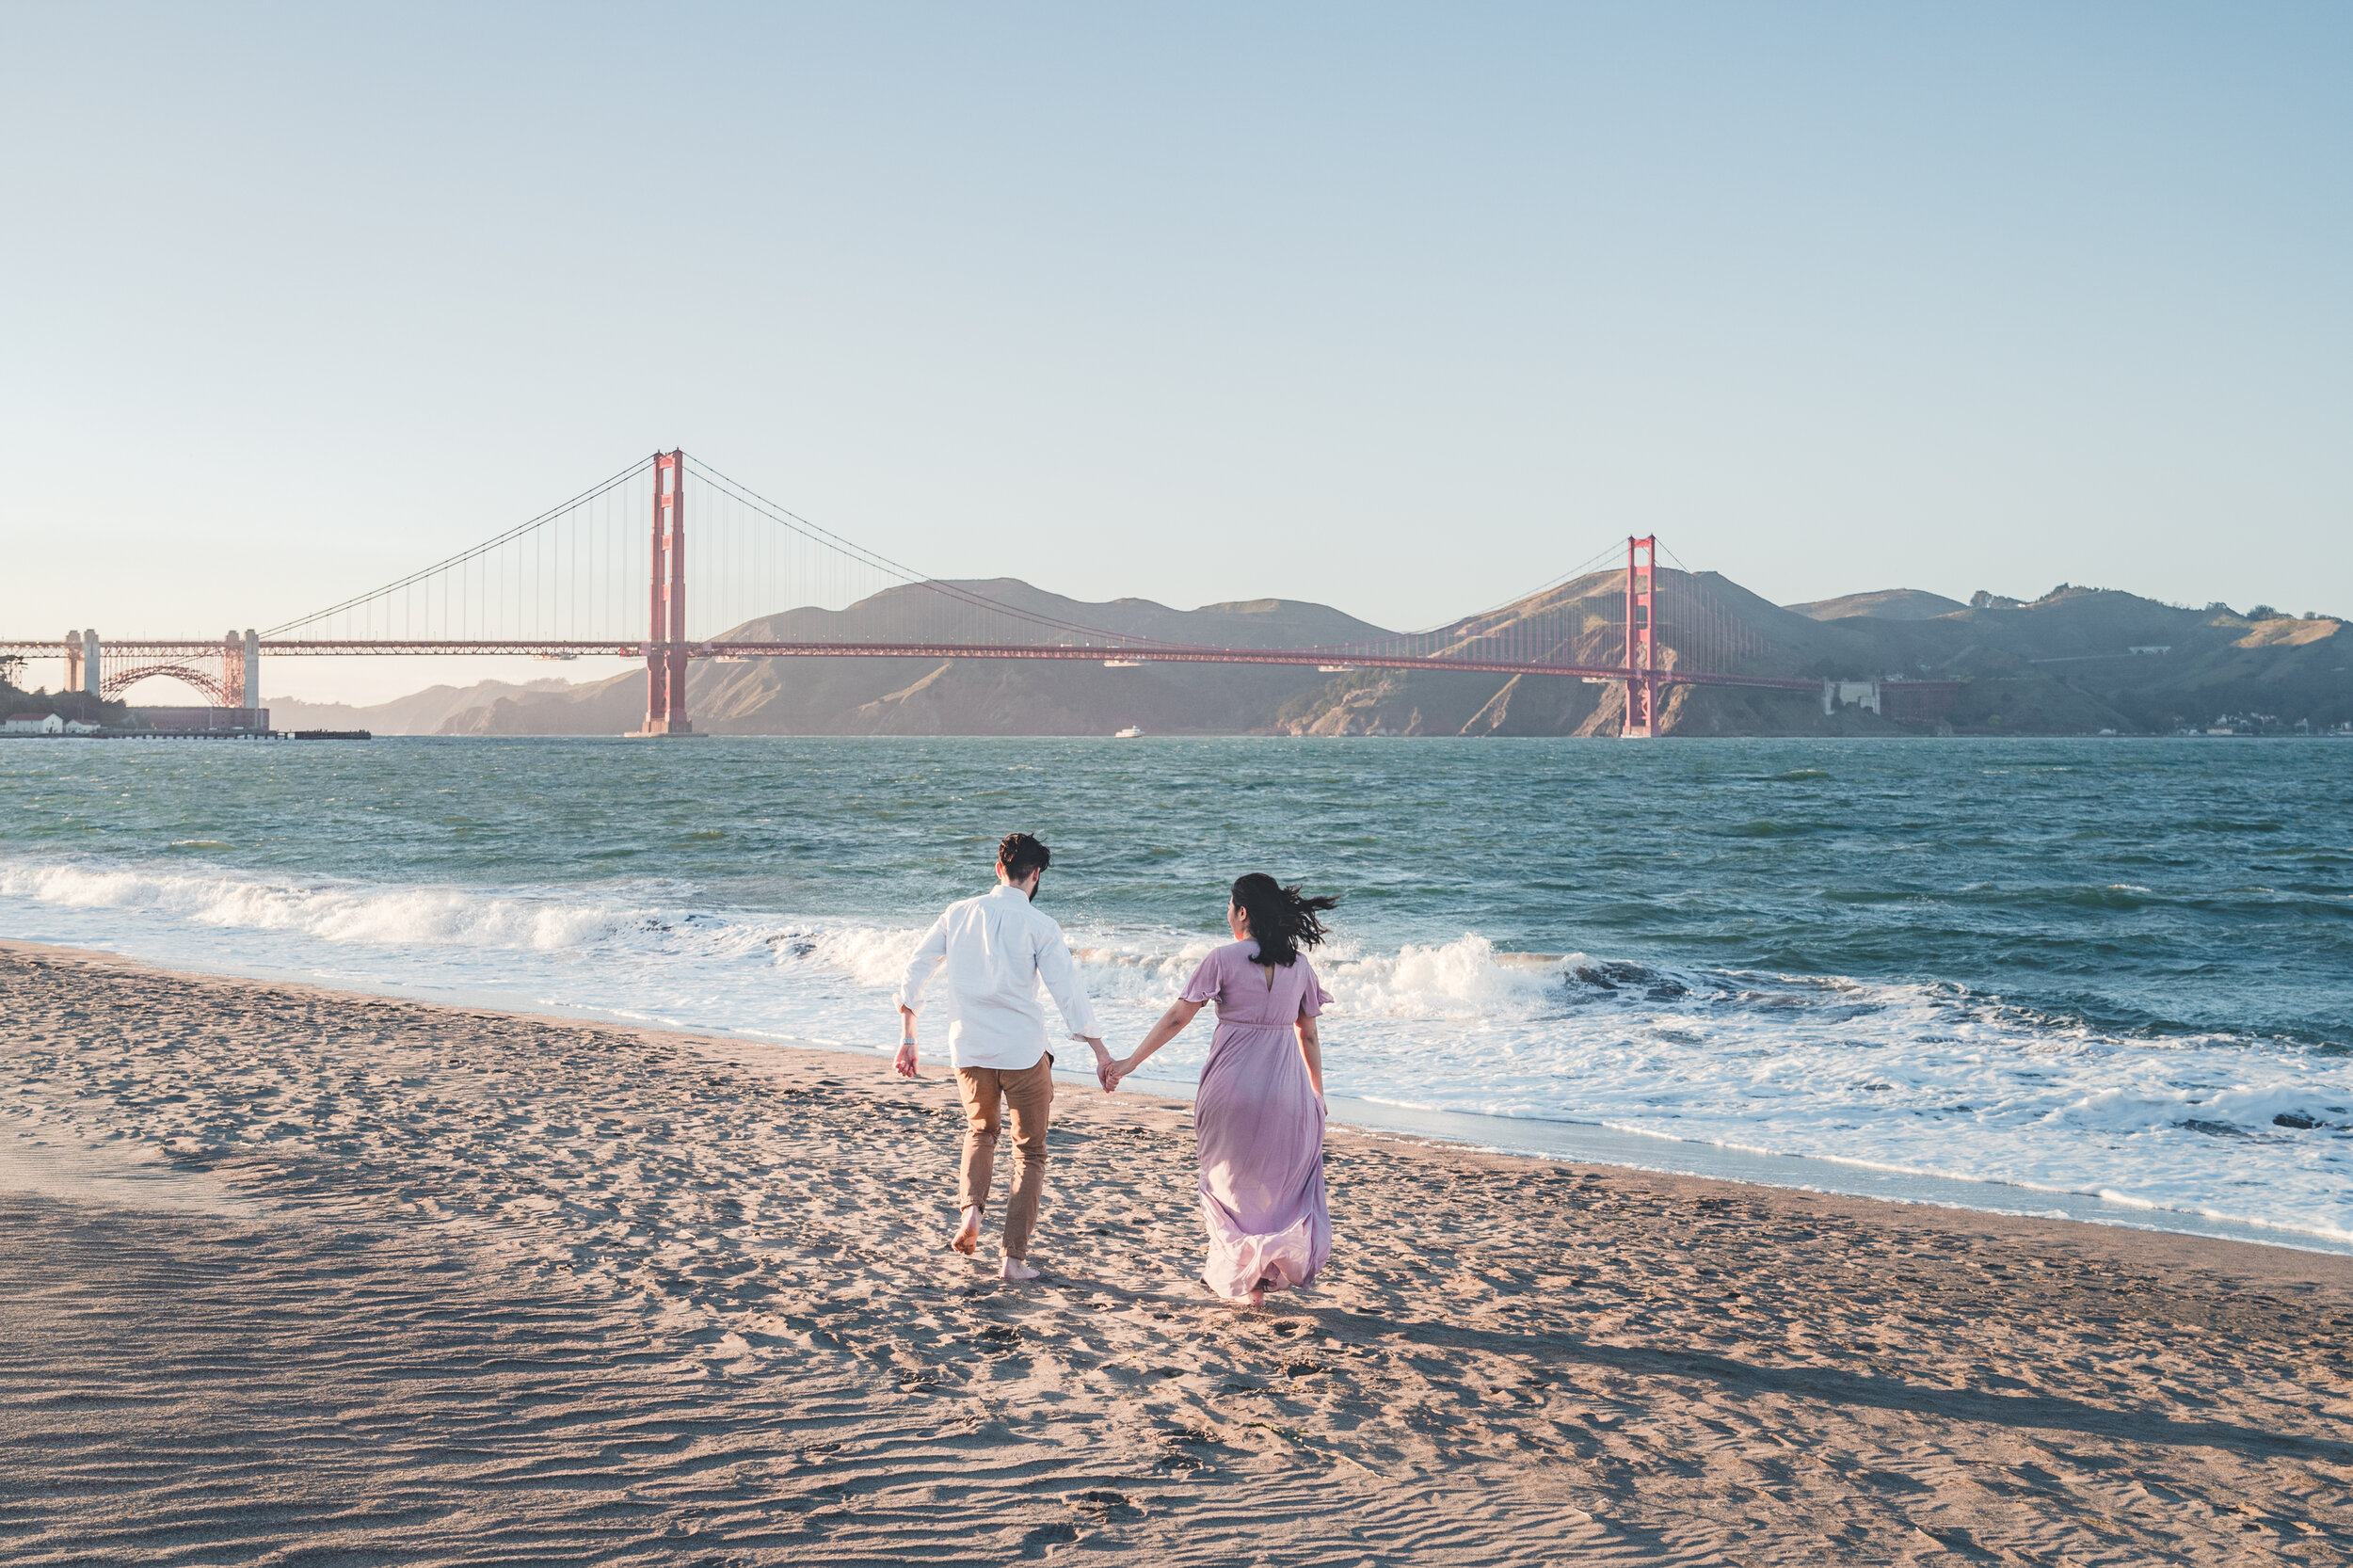
When I was editing this photo from an engagement shoot at Crissy Field, I realized all the different ways I could crop this. Above is the uncropped version of the full image (post edits), and I’m about to show you how adjusting just one Lightroom tool can change the photo and tell different stories.
*** I should preface that cropping doesn’t necessarily make a photo better. Make sure you get the composition right when taking the shot, so that post-processing is possible and easier later on. Just like how you can’t make a blurry shot become focused or a midday photo have that golden hour glow in Lightroom, it would be very hard to crop the image to get your desired frames if the composition is already off. (There may be methods in Photoshop to save an out-of-focus or poorly exposed shot, but I am strictly talking about post-processing in Lightroom in this post.)

4 x 5 Crop (v1)

4 x 5 Crop (v2)
The first is the 4 x 5 crop, which is widely popular and very commonly used today thanks to Instagram’s portrait (vertical) dimensions. See how this crop gives a more intimate feeling of the couple than the original 2 x 3 shot? Your eyes go directly to them running on the sand rather than to the Golden Gate Bridge in the back. Even though the couple takes up two-thirds of the frame in both 4 x 5 crops, the two photos still present completely different angles.

1 x 1 Crop
Next is the 1 x 1 crop. Scrolling through today’s Instagram feeds and various websites, you don’t see much of the square crop these days. However, it is good for profile pictures on many sites and social media platforms, as well as good ol’ album covers. It’s easy to see how this crop tells a different story compared to the ones already mentioned.

9 x 16 Crop
Then there is the 9 x 16 crop, the dimensions for Instagram Stories. As mobile screentime increases in today’s tech-driven world, the content we consume shifts to a portrait orientation rather than the more traditional landscape one. Media today is optimized for mobile consumption, where vertical photos and videos dominate. You can see how the Golden Gate Bridge backdrop becomes basically non-existent in this crop, switching the focus to the couple entirely.

2 x 3 Crop (more cropped in)
Last but not least is the 2 x 3 crop, the original dimension the photo was taken in — but a more cropped in version — and also Instagram’s landscape (horizontal) dimensions. Compared to the full image, this version brings the viewer closer to the focal point of the photo. With this first example, it’s fairly simple to put your finger on what the focal point is, even if you don’t know much about framing and composition. It’s pretty discernible that the focus is the couple running hand-in-hand towards the waters of the San Francisco Bay, with the Golden Gate Bridge in the distance.
Example 2
You might be wondering, then, how you can crop differently and tell multiple stories from a photo without human subjects— I’m going to show you exactly how with this next example below. Here is the uncropped version of the full image (again, post edits).

Full Image
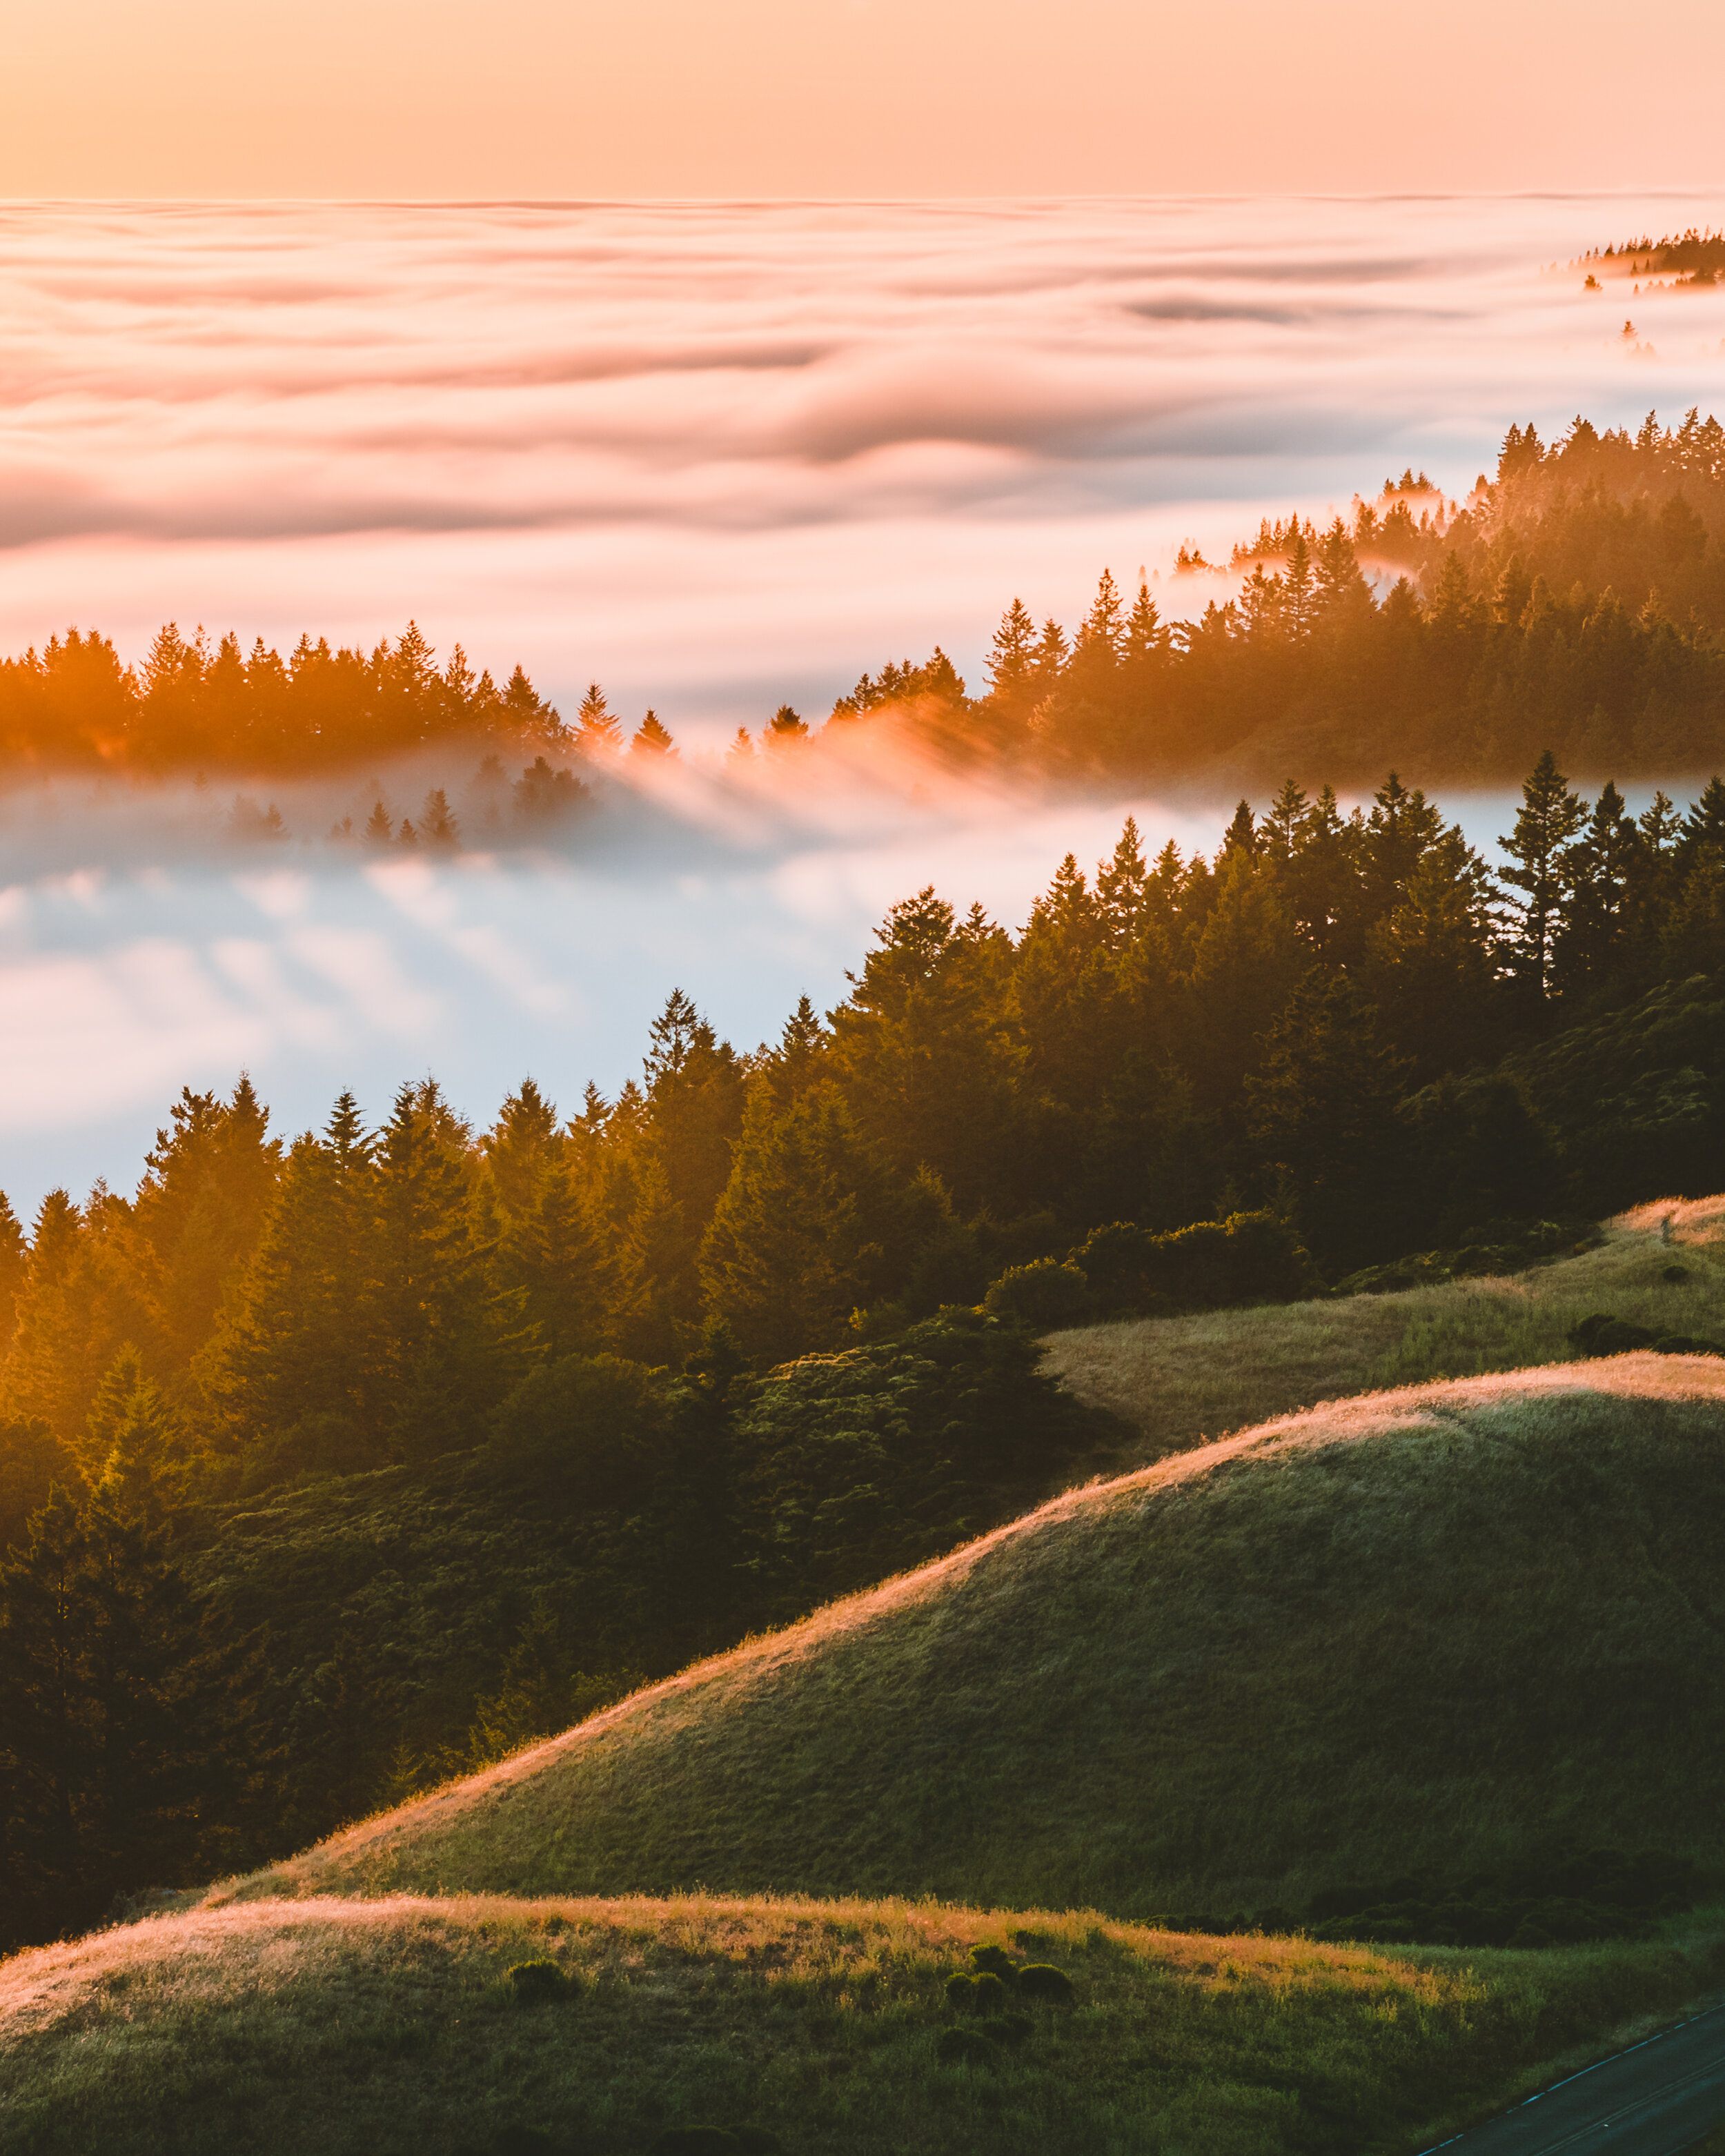
Taken at 105mm on a warm summer night at Mt. Tam, with Karl the fog putting on a show in the back, this turned out to be one of my favorite shots last year. When I took this, I thought I’d just crop or photoshop the car out in the lower right corner in my editing. However, as I finished editing, I decided to keep the car because it gives a much better sense of scale for the entire photo. From the various crops I’m going to show below, you will see how different the image becomes and how the focus shifts entirely from crop to crop.

2 x 3 Crop (v1)

2 x 3 Crop (v2)
Even though both of these 2 x 3 crops still have the fog, the trees, and the golden glow, they are very different from the full image: basically a metaphor for how we ought to look at the big(ger) picture!
4 x 5 Crop (v1)
4 x 5 Crop (v2)
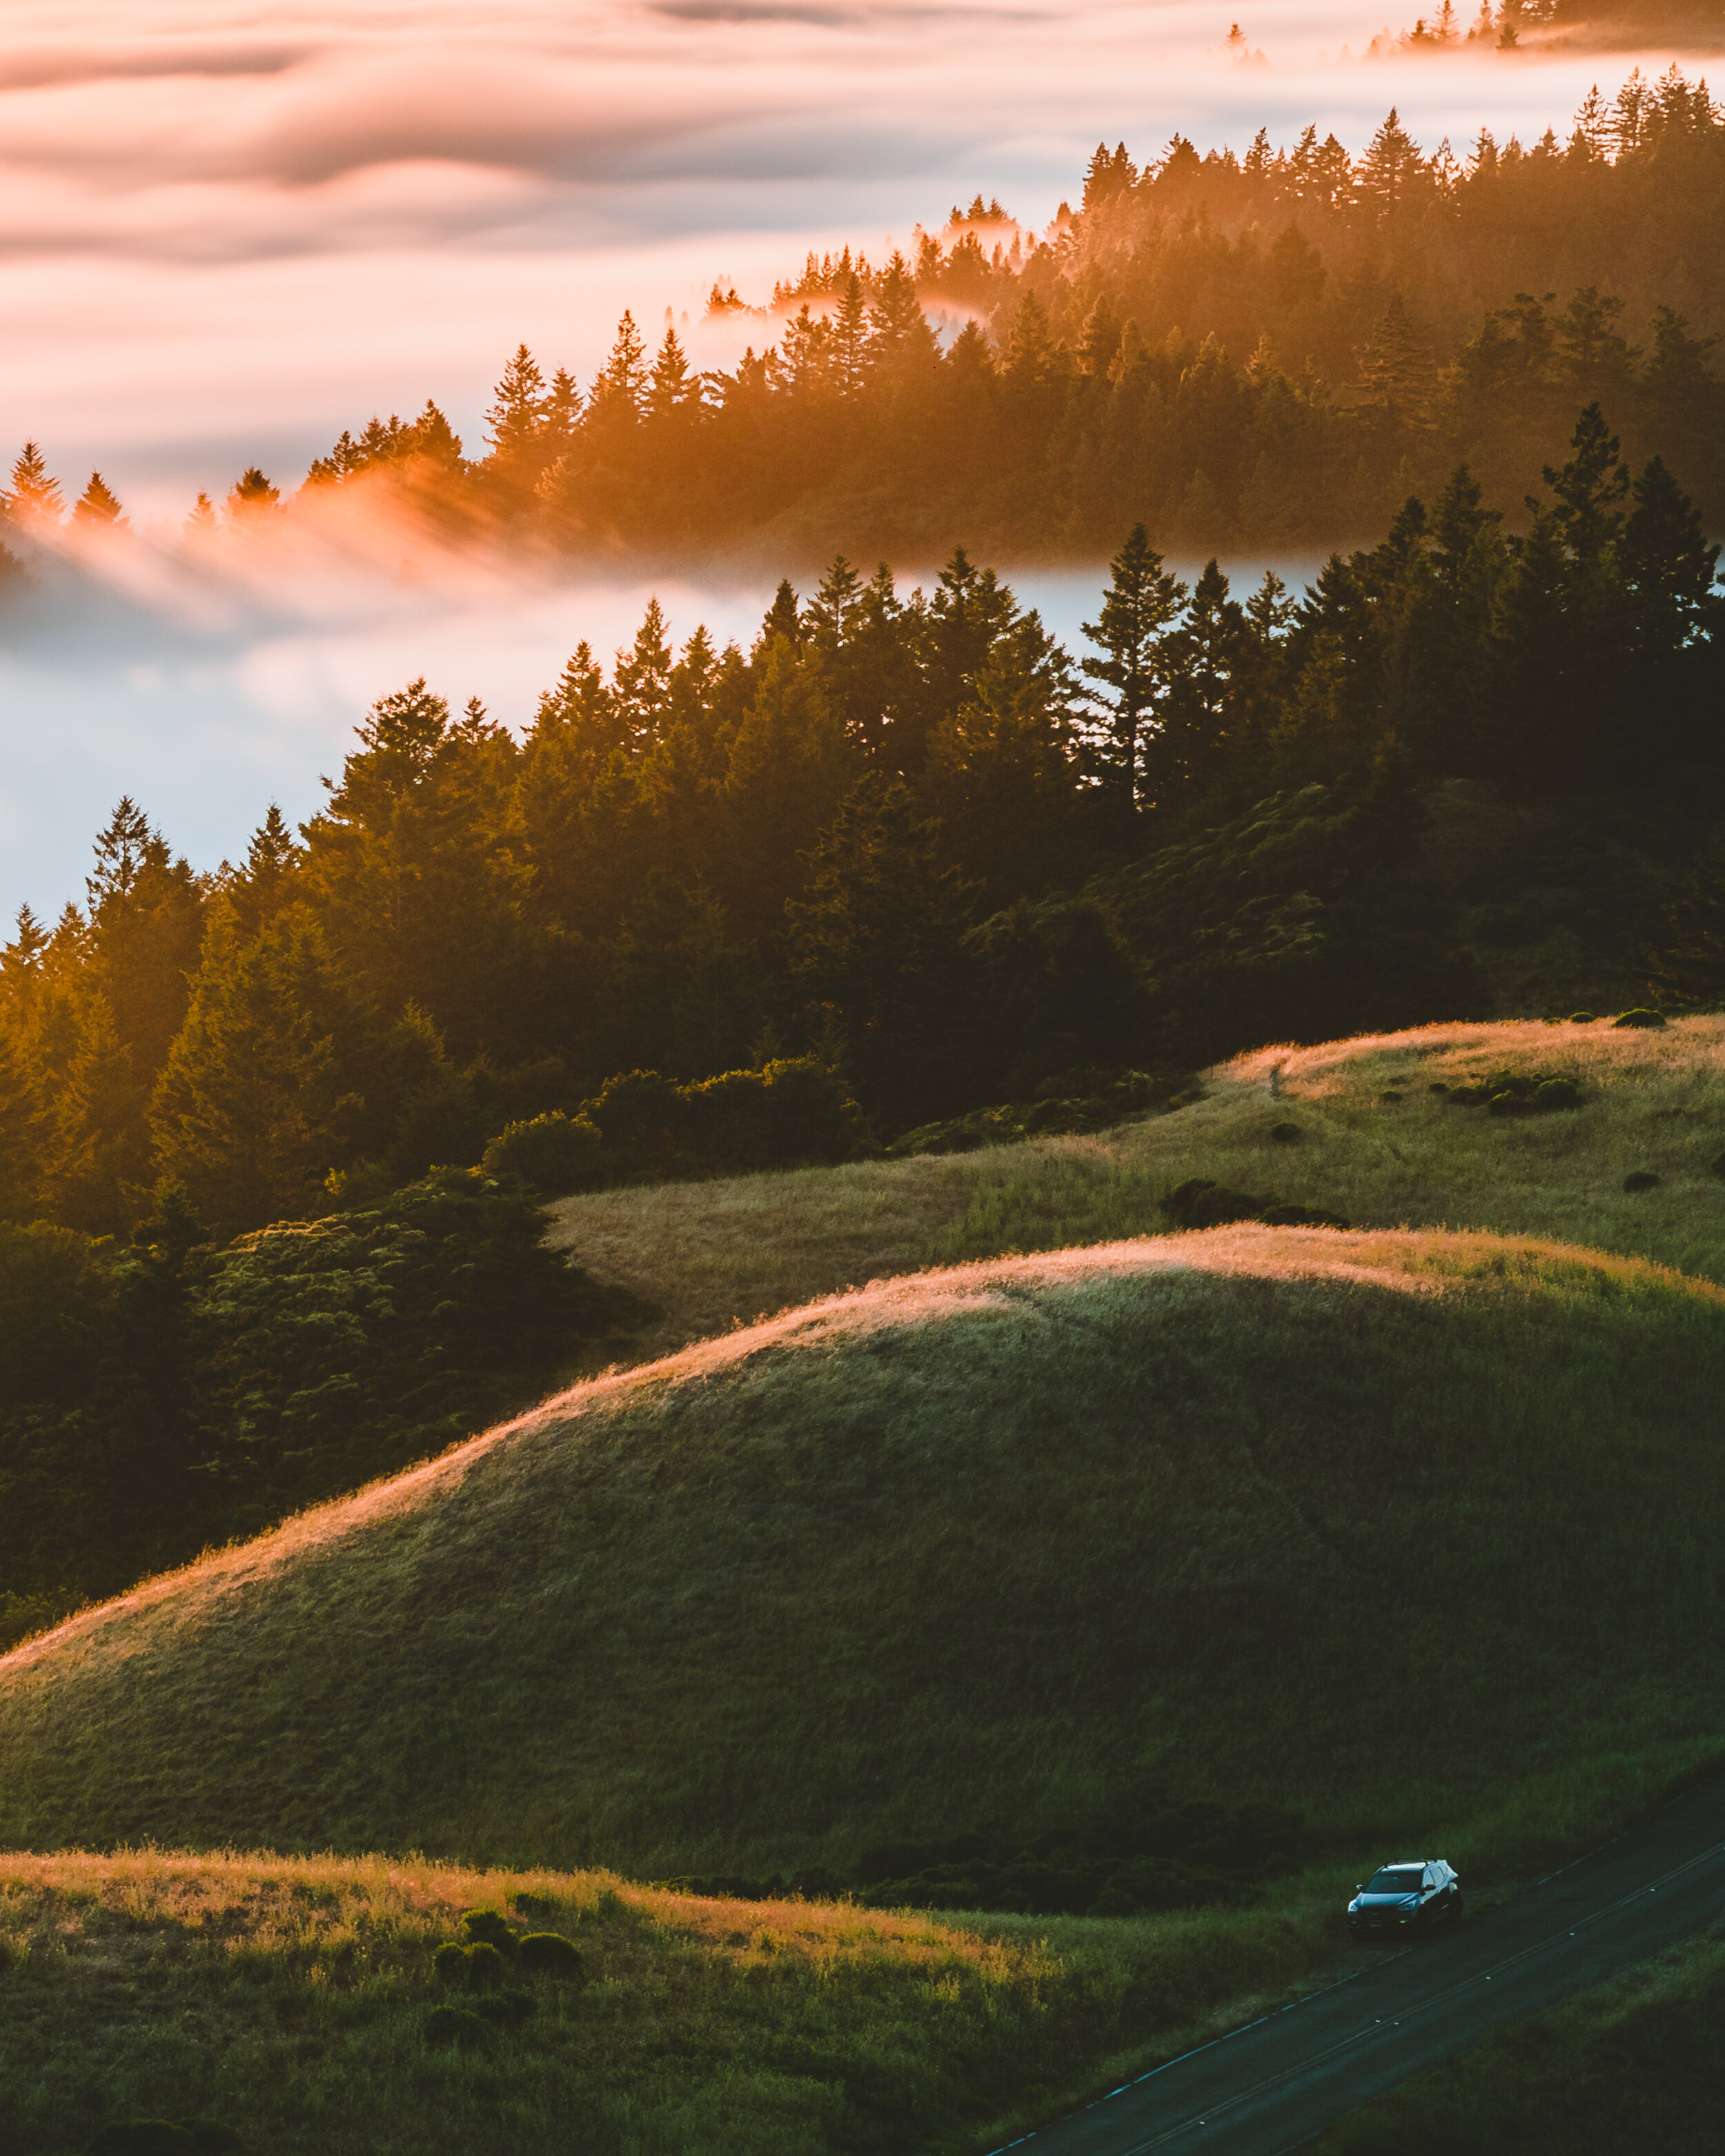
The two 4 x 5 crops here brought back the rolling hills in the foreground, but observe the difference the car makes. Without the car, you recognize a nice, simple shot in nature. With it, you might just be noticing the road for the first time and realizing how much taller the trees are and how much bigger the hills are. Starting to see why I ended up keeping the car in the photo? [;

1 x 1 Crop

9 x 16 Crop
Here’s another example of the square crop and the story crop, which turned out to be my favorite dimensions of the original image as I was writing this post. The 9 x 16 crop, especially, really accentuates the multiple layers and the depth of this photo: the road, the car, the rolling hills, the trees, the golden glow, and finally the fog.
So there you go! That’s how you can create several images to tell different stories from just one shot with just one tool in Lightroom: the crop overlay. Hope you enjoyed my first post in Editing Tips and found something useful. If you’d like to see more posts on editing and Lightroom in the future, let me know in the comments below. Thanks for reading as always, and I’ll see you on the next post!